Showing posts with label gift card holder. Show all posts

Wednesday, April 13, 2016

SSINK Baby Shower Blog Hop


Today we're throwing a baby shower! One of our very own Stylin' Stampin' INKspiration design team members just had her sweet baby boy on April 10th, which just happens to be perfect timing for our SURPRISE SHOWER for this month's blog hop! Congratulations Kim Ryden on the birth of your sweet baby boy Micah Hunter. We are so happy for you!! Enjoy "opening" each of your gifts as you hop along! :)
As you hop along, please be sure to comment and show some love on every blog! We are always excited to hear from our followers! You should have just left stop number 6 on the Stylin' Stampin' INKspiration Blog Hop - Jennifer at Happy 2 Scrap 4 Life. If so, you are in the right spot. If a link doesn't work or you get off track, you will find the full blog hop lineup below.

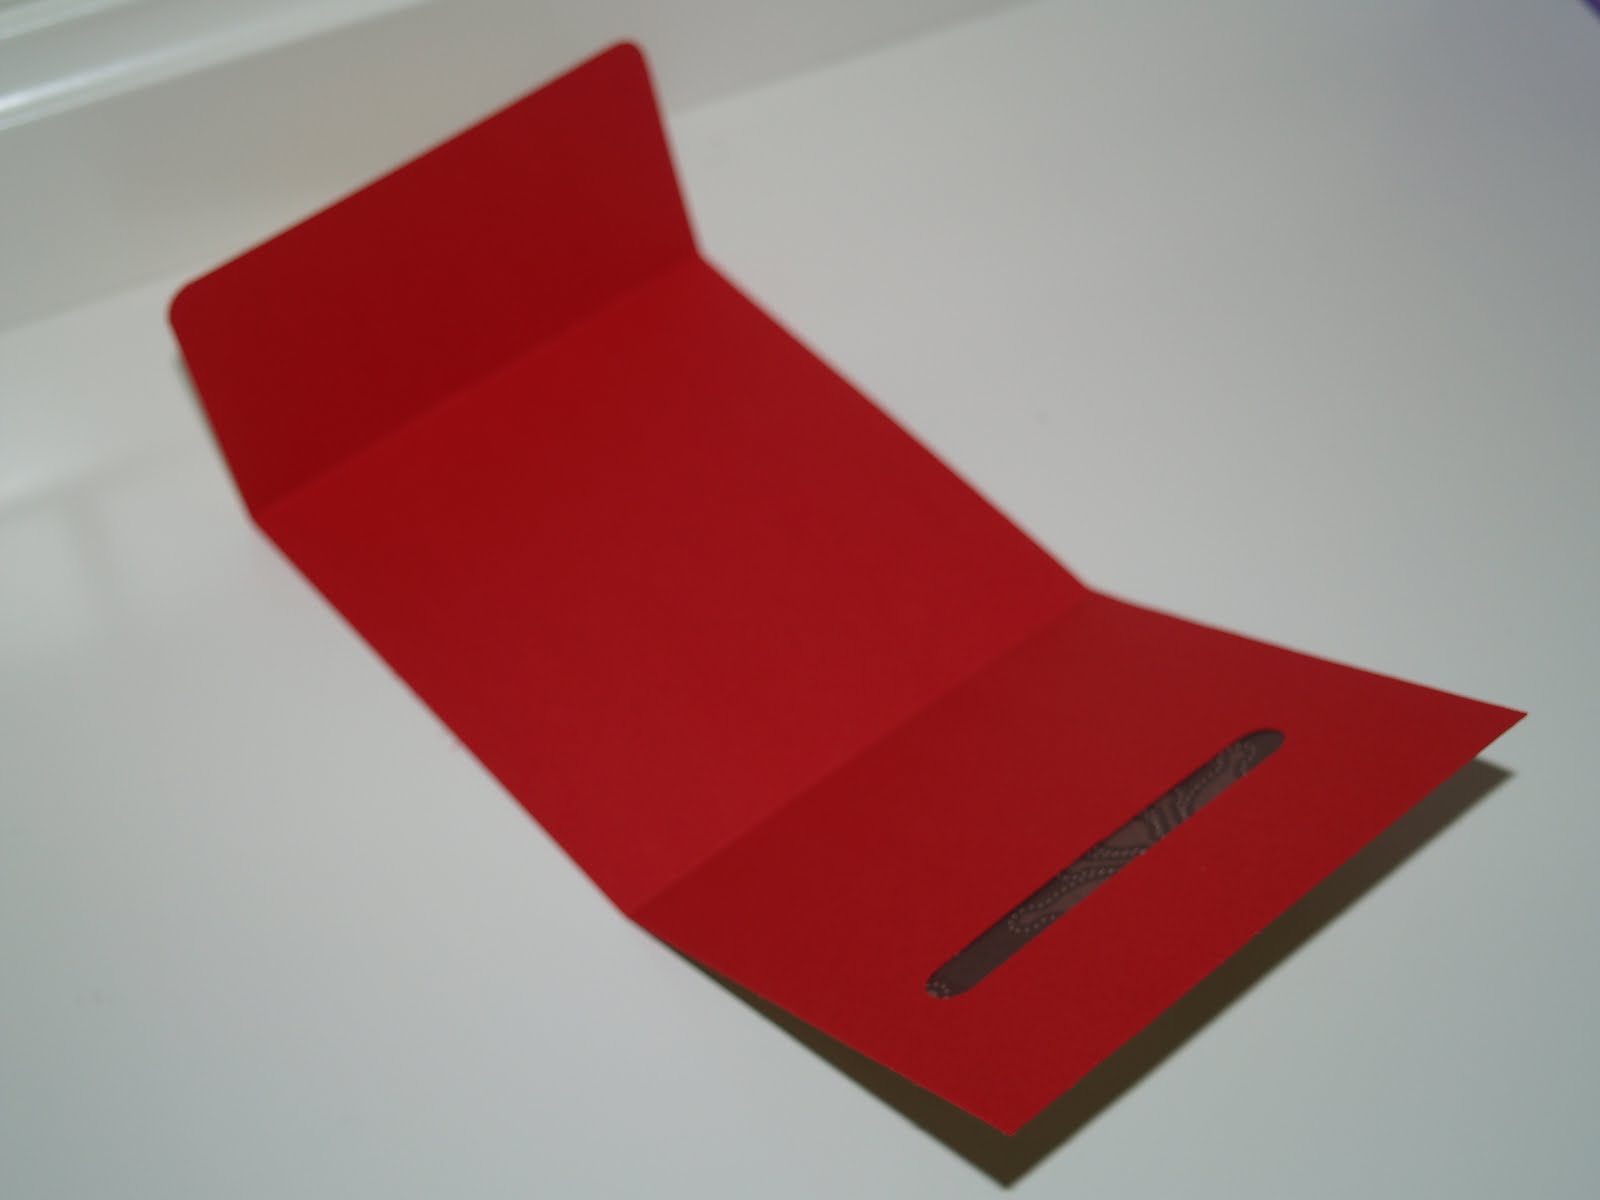
My gift for Kim and baby Micah is something that all new mamas want ~ a gift card to Target to buy whatever she needs! :) Kim, enjoy buying some cute new baby boy clothes, diapers (if you must!), or all of those fun new style baby accessories you swoon over! Of course a gift card requires a cute gift card holder. 

M for Micah!

Pull on the ribbon and you will pull out the gift card holder.

We love you, Kim! 
Be looking in your mailbox soon for lots of goodies to come. ;)

http://geeksquadcrafting.blogspot.com/2016/04/blog-hop-baby-shower.htmlNext up on the hop is Donna at Geek Squad Crafting. Keep hopping along with us to join in the fun of our virtual baby shower.


Participant List:
  1. Diana at Stampin' Fun with Diana
  2. Bree at Craft-Somnia Momma
  3. Jenny at Jenny G Paper Crafts
  4. Kathy at Kathy's Stamping World
  5. Melissa at The Stamp Doc
  6. Jenn at Happy 2 Scrap 4 Life
  7. Heidi at Stuck on Stampin'
  8. Donna at Geek Squad Crafting

Wednesday, December 9, 2015

SSINK Blog Hop ~ Christmas


This month's SSINK Blog Hop theme is Christmas! It will be here before we know it, but I am trying to "just be" this season. I'll let you know how that's going as I get closer! Ha!

As you hop along, please be sure to comment and show some love on every blog! We are always excited to hear from our followers! You should have just left stop number 8 on the Stylin' Stampin' INKspiration Blog Hop - Kim at Stamping with Kim. If so, you are in the right spot. If a link doesn't work or you get off track, you will find the full blog hop lineup below.

With Christmas comes the opportunity to give gift cards (it is definitely more the norm these days!). So, why not make your gift card holders cute?! 

We made these gift card holders at my November card making night. They were a hit! 


How can you resist this adorable Rudolph red nose?

The front part of the card tucks underneath the heart circle...

Open it up and on the inside is a surprise gift card. SO FUN!

Next up is Jennifer at Jenny G Papercrafts. Click on the arrow to head her way!
http://jennygpc.blogspot.com/2015/12/santa-claus-is-coming-to-town.html


Blog Hop Participant List:

  1. Jennifer at Jenny G Paper Crafts
  2. Darcy at Dj's Stampin Place
  3. Diana at Stampin Fun with Diana
  4. Bree at Craft-Somnia Momma
  5. Leanne at Literally My Joy
  6. Laura at Crafty Chicks Creating
  7. Melissa at The Stamp Doc
  8. Kim at Stamping with Kim
  9. Heidi at Stuck on Stampin'

Tuesday, June 2, 2015

Meet Cucumber Crush (gift card holder)

Today is the day!! The new 2015-2016 Stampin' Up! Catalog is now LIVE and you can order all the new and fun products right now...no more waiting! Click HERE to start shopping from my online store!

Over at the Stylin' Stampin' INKspiration blog we have been counting down to the new catalog for the last 5 days bringing to you some inspiration using the five brand new in-colors. So far we have shared Watermelon Wonder, Mint Macaron, Tip Top Taupe, and Delightful Dijon. The final day of the countdown is today and we are sharing CUCUMBER CRUSH!


I used a tutorial for a gift card holder I had made around this same time last year and created it using colors and products from the new catalog. Because I was showcasing Cucumber Crush I used that as my card base. The sentiment (which comes from the new Sprinkles of Life stamp set) is stamped in another new in-color called Watermelon Wonder. The "band" (ribbon) is also new and can slip off and on fairly easily keeping the gift card holder closed. The DSP is a new favorite called Cherry on Top. It's a pack of 6x6 paper that comes with so many fun, fresh, and bright prints!

This is what the gift card holder looks like when it is closed and wrapped with the ribbon.

Getting ready to open the card completely. Notice all the fun prints?! These are all from the Cherry on Top DSP Paper Stack I mentioned about earlier.

This is what the card looks like completely open. On the right there is a slot for a gift card and in the middle is a place to write a message. I wanted to leave it blank because I actually created eight of these to give as a thank you for my stamp club gals. This gift card holder is something they could reuse to give to someone else and I wanted it to be versatile for whatever occasion!

Before I wrapped it up with the bow, I slipped in a card for $5 off their next Stampin' Up! purchase as a thank you for being in my club these last 8 months!

Come on over to the SSINK blog to check out more inspiration using this fun color...as well as the rest of the four new in-colors.

Tuesday, March 3, 2015

Birthday Gift Card Holder

My February Card Making Night was a couple of weeks ago and in honor of my birthday in February I decided we would make all birthday cards! I thought it would be fun if one of the cards was a gift card holder. I knew the concept wasn't something I could come up with on my own, so I went straight to Pinterest! I ended up finding a great video tutorial by Dawn Griffith for a gift card holder using the Envelope Punch Board. I decided to use this same concept and update the products with new Sale-A-Bration products and a new stamp set from the 2015 Occasions Catalog. In fact, this new stamp set is perfect for any kind of gift card holder! (Come on over to visit the Stylin' Stampin' INKspiration for many different kinds of gift card holders that we are sharing today!)

{B.Y.O.P. Photopolymer Stamp Set - $24.95}
http://www.stampinup.com/ECWeb/ProductDetails.aspx?productID=137159

On the left is the front of the gift card holder and when you open it up, it slides up to reveal the word SPENDING! It's so cute, isn't it? If you want to see this gift card in "action" be sure to to visit Dawn's video tutorial (see link above).
Stamp Sets
B.Y.O.P.
Ink
Calypso Coral
Paper
Whisper White, Coastal Cabana, Calypso Coral, Best Year Ever DSP (SAB)
Accessories
SNAIL Adhesive, Stampin’ Dimensionals, Crushed Curry Ribbon (Best Year Ever Accessory Pack)
 Tools
Big Shot Die-Cutting Machine, Chalk Talk Framelits

Friday, December 2, 2011

12 days of Christmas {projects} - day 2

Christmas Project #2
Rudolph Punch Art Gift Card Holder

Gift cards seem to be the most popular item on Christmas wish lists these days! So, if you're going to give a gift card...at least make a fun gift card holder to add that extra special handmade touch!

This cute little gift card holder was one that I made last November with my stamp club girls! I used the inspiration behind the actual gift card holder from the talented Kerry at Kerry's Craft Blog. The Rudolph punch art morphed itself from a couple of things I had seen on the web, but mostly this little guy was inspired by the Rudolph seen on Angie Kennedy Juda's My Chic 'N Scratch (love her style!) I decided on different antlers, but most everything else stayed the same!

{front}

{back}
The quick and simple "how to"...

You will need:
  • 2 top note die pieces out of the card stock of your choice (I used Cherry Cobbler)
  • 1 DSP top note die piece (I chose the retired Jolly Holiday...love that DSP!!)

Trim the edge of the DSP top note piece. You will see a perforated line where you will need to cut off.

Using SNAIL adhesive, adhere the DSP to one of the top note pieces. Then cut the other piece straight across a little more than half way up.


Picture not shown: If you want a stamped greeting on the back of the holder, make sure to stamp something before moving onto the next step.

Place Dimensionals on the sides and bottom of the cut top note. I used a gift card to help me see where I needed my Dimensionals to be. You want to make it a tight fit so the gift card doesn't slip out once it's assembled, but you also don't want it too tight that the gift card won't fit!

Attach the two top notes together...and your gift card holder is complete!
...except for the decorating part!

When I saw this Rudolph last year, I just knew I needed to create him (much like the snowman punch art I made a few weeks ago)

You will need the following...

If you look closely at Rudolph you will see how he is put together.

But one helpful hint...

Place the Chocolate Chip flower on top of the Crumb Cake wide oval as seen in the picture below (please note: it is already sponged with Chocolate Chip ink).

Turn it over and trim the part hanging over the edge.
Now he has a little tuft of "hair" in the front!

I sold these along with a couple of other gift card holders at a local Holiday Bazaar I participated in. They were $2.00 each.

Thanks for coming by and I hope you find time to do some Christmas crafting!

Be sure to come back each day for 10 more days of Christmas project ideas...and on December 12th there will be a GIVEAWAY!!

************************

Day 1 - M & M's Skinny Bag with Matching Tag

Tuesday, June 7, 2011

happy owl...happy graduation!

My cousin's high school graduation party was on Sunday and I wanted to give her a gift card to Bed, Bath, & Beyond so she can find some fun new dorm room accessories when she goes off to college.

Of course I wanted a little something to hold the gift card, and I had remembered making these mini pizza boxes at one of my stamp club meetings and I knew it would be perfect!

I've seen these little graduation owls floating around blog land, and I couldn't wait to make one of my own to add to the top of the box!

{directions for mini pizza box found HERE}

~ box closed with band around it ~

Stamp Set: Teeny Tiny Wishes (sentiment)

Paper: Pacific Point, Real Red, Old Olive, Basic Black, Whisper White, Tangerine Tango, Celebrations DSP

Ink: Real Red

Accessories: Dimensionals, non-SU! red ribbon

Tools: Word Window punch, Modern Label punch, Two-Step Owl punch, Scallop Square Duo Bigz Die

* * * * * * * * * * * * * * * * * * * * * * * * * * * * *

How to Create the Graduation Owl

To create the owl's wings I used the Scallop Oval Punch and cut it in half lengthwise. I then cut one of the halves in half again (see below) to get the two wings. Glue the wings underneath, making them stick out as much as you would like.

To create the graduation cap, I free-hand cut the "kite" on the top as the cap. I cut a strip of black cardstock wide enough to fit the top of the owls head. Using the 1 1/4" circle punch, I punched the end of the strip of paper to get a rounded effect.

Cut the strip of paper down to size and then adhere the "cap" on top.
**Additional notes: You'll notice that in my owl with the finished project up above, I snipped off the owl's feet and replaced them with Tangerine Tango color. I glued the feet down first and then placed the owl's body on top of it. It took a little extra work, but I like the result. I also free-hand cut the mini triangle for the owl's beak. I also took a white piece of paper and rolled it up tight around a thin piece of dowel and then tied a ribbon around it. I adhered it with a couple of glue dots.


Thanks for visiting!
Hope you come back soon!

Monday, January 3, 2011

Christmas gift card holders & a couple of fun gifts to give

This will be my last post of Christmas goodies...promise! ;) Next year, I really need to have my act together and do better at blogging in December, so my Christmas projects can actually inspire you for Christmas. Like I said, you can always tuck away any ideas you have seen over the last few days on my blog for next year's Christmas "to dos".

I made some gift card holders for the same consignment shop I mentioned in yesterday's post about the matching gift bags and tags. These were really fun to make and were quite simple. I think I created 4 of each of these designs. Whatever didn't sell at the shop will be nice to have for next year's gift cards (or even to have at a bazaar).

Updated to add: If you wanted to make your own, the dimensions are 8" x 4 1/4". Score it at 2 3/4" x 6". On the inside "pocket", use sticky strip around the edges to make sure the gift card stays inside without coming apart, which is what might happen if you use regular adhesive.

Paper: Jolly Holiday DSP
Stamp Set: Tags Til Christmas (2010 Holiday Mini)

Paper: Jolly Holiday DSP (2010-2011 IBC)
Stamp Set: Christmas Punch (hostess set from 2009-2010 IBC)

Paper: Candy Cane Christmas (2010 Holiday Mini)
Stamp Set: Season of Joy (2010-2011 IBC)

Paper: Candy Cane Christmas (2010 Holiday Mini)
Stamp Set: Tags Til Christmas (2010 Holiday Mini)

* * * * * * * * * * * * * * * * * * * * * * * * * * * * * *

I am the Discussion Group Leader for our local MOPS (Mothers of Preschoolers) group and I wanted to give each of the ladies in my group a little something for Christmas. I wrapped up the "Twisted Peppermint" Bath & Body Works hand soap in a candy striped cellophane baggie and then tied a ribbon using Pretty in Pink satin ribbon (LOVE!). I added a little gift tag I created using Candy Cane Christmas DSP and the sentiment is from the Hostess Level 3 set Occasional Quotes. I think it turned out simple, but cute! Someone had mentioned that this would be a cute idea for Valentine's Day, too!


* * * * * * * * * * * * * * * * * * * * * * * * * * * * * *

This next little gift idea doesn't have anything to do with Stampin' Up! products, but I thought it was fun to share anyway. My husband manages a group of 3 employees and they just so happen to be women, so he asked me for a little help with what to get them as a small little Christmas gift. We ended up going with the "Twisted Peppermint" hand soap as mentioned above and then he got each of them a Target gift card. He even hand picked the design of the gift card to match the soap. He also picked up some peppermint Andes mints to tie it in with the rest of the gift. I happened to have these cute little buckets in my Christmas stash (from an after Christmas clearance shopping trip, I can imagine), so I added some shredded paper packaging to go inside and it finished it off nicely. Now, it might have looked even better if I had added a ribbon or a handmade tag, but this was a "night before" type of gift, so I did what I could without suffering the consequences of staying up too late!

Friday, December 31, 2010

Christmas goodies - hostess gift & guest treats

Back in late September, I held a Christmas card making workshop for my mother-in-law's friend. It was a 3/$5 card making workshop, so each of the guests paid for supplies to make 3 cards each.

For each of the guests, I made a little treat holder using the SU! exclusive Two Tags Die for the Big Shot. Inside I put a little candy bar, which for some reason I didn't have when I took the pictures below! The inspiration for the idea was found HERE.


I try to bring some sort of hostess gift for each of my workshops. For this particular workshop, I created this cute little gift card holder (the idea and tutorial to re-create I found HERE). Instead of putting a gift card inside, I made up a little "certificate" that said she would get the 3 cards we make for free. Both my mother-in-law and her friend (the hostess) loved it so much that they wanted all the details to recreate it themselves and ended up making a few for their friends. I love to help inspire!


the "hole" is where you would slip the gift card into

Hope you're enjoying my Christmas posts...even if Christmas is OVER! Tuck away these ideas for next year if you'd like! You can get a head start. ;)
// ADDED BY RYAN ON 1-3-14 // END ADDED BY RYAN 1-4-14