

Thank you so much for joining us for the September Stylin’
Stampin’ Squad Blog Hop! This month we are focusing on the tools of the
stampin’ trade. Specifically, each of our favorite stamping tools. It’s
amazing the kinds of tools that have been created to help us along in
our paper-crafting addictions. This month’s blog
hop will showcase many of the Stampin’ Up! tools that are now available
to us in the 2013-2014 Stampin’ Up! Idea Book and Holiday Catalog and
even a couple of products that are so new they aren’t in either catalog.
We hope you enjoy seeing how we use the old and new tools and are
inspired to come up with some great projects of your own.
You should have just left stop number 8 on the Stylin’ Stampin’ Squad blog hop – Justin K. of JK Cards. If so, you are in the right spot. If a link doesn’t work or you get off track, you will find the full blog hop lineup below.
 I will be showcasing one of my favorite tools today called the Stamp-A-Ma-Jig. It is the best little tool for all of you who are perfectionist stamper like me! :)
This is the perfect tool to keep you from ever ruining a whole project with one crooked image! The stamp positioner gives you the ability to place an image exactly where you want it, every time.
I have four cards to share with you today and each one I used the Stamp-A-Ma-Jig for just the right positioning. I wanted to be able to showcase a variety of simple cards I created...specifically ones I will be popping in the mail today! I have really been working at making cards I know I will use right away, so four of my lucky friends will be getting one of these cards in the mail soon. :)
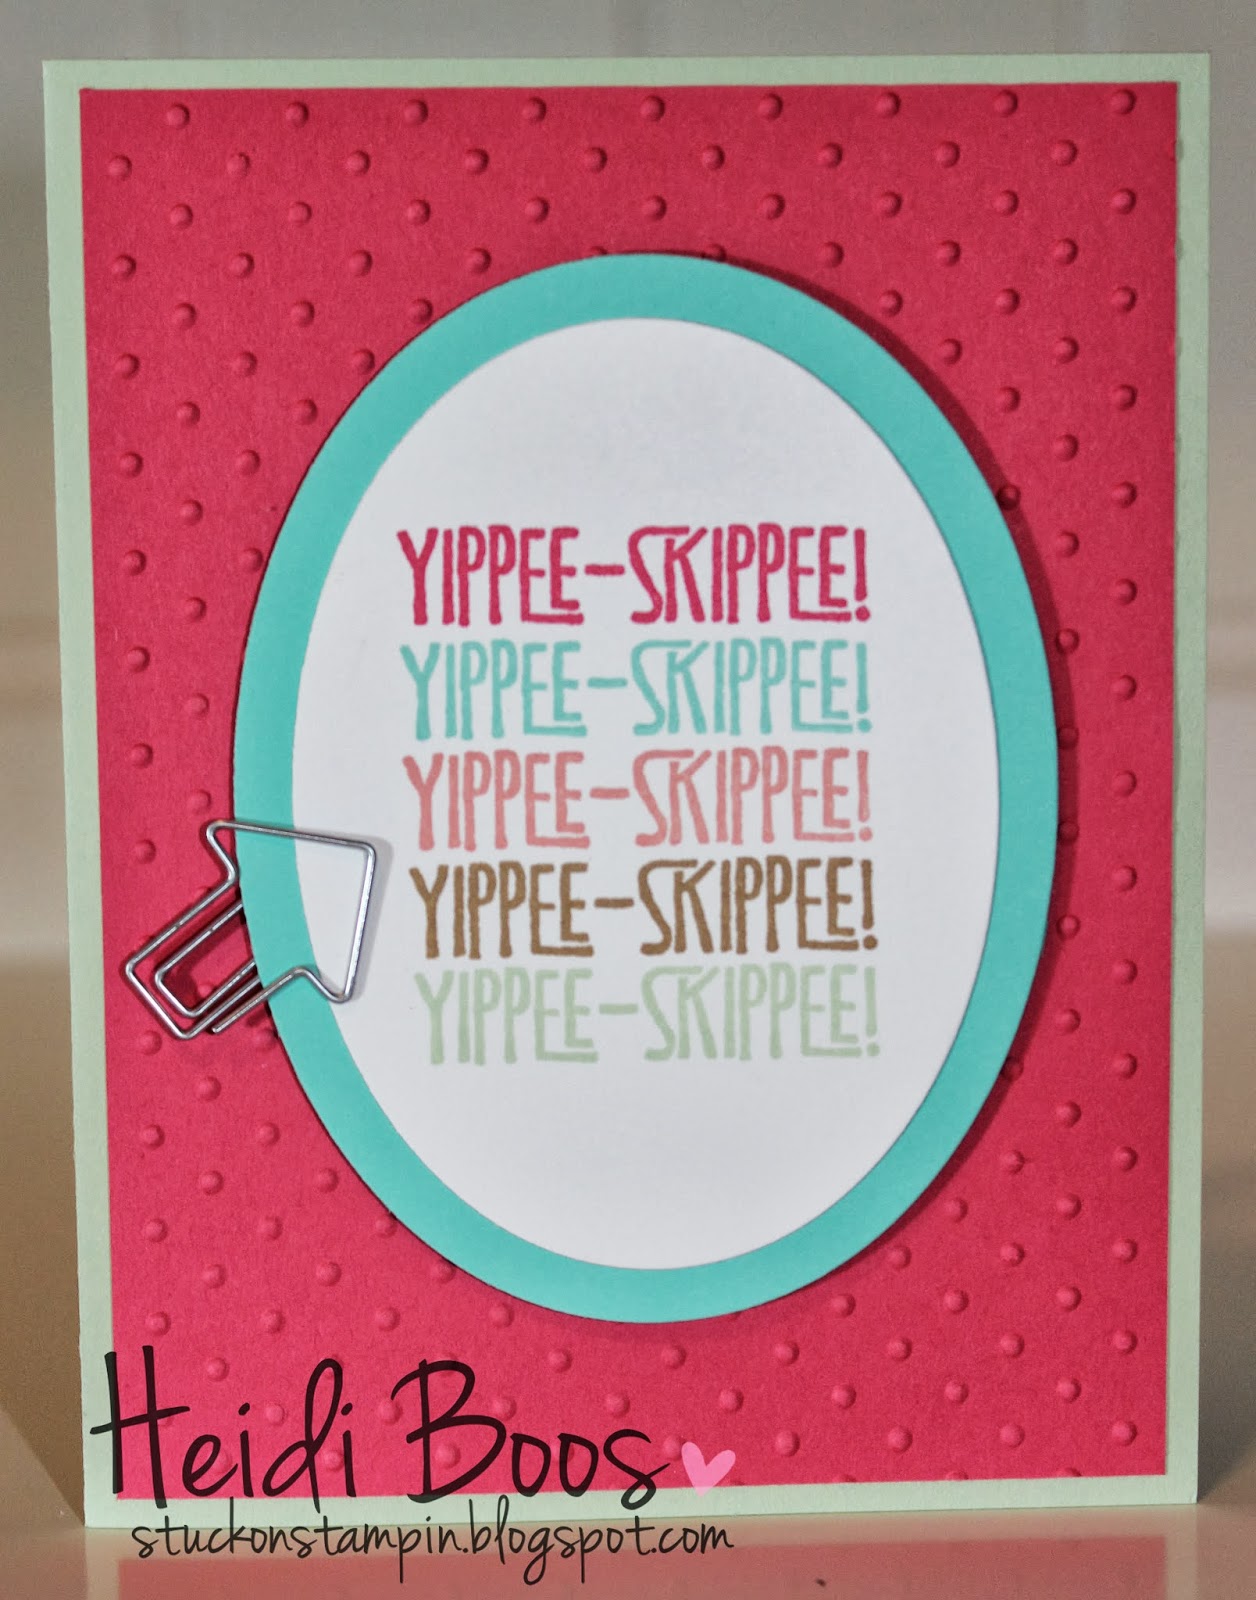
First up...I used the Stamp-A-Ma-Jig to line up perfectly the "Yippee-Skippee" sentiment. This sentiment is a single stamp which I re-inked with the five in-colors and stamped repeatedly. Although this stamp set is a clear mount stamp there is NO WAY I would have been able to line up those words in a perfect straight line each time. This is where the Stamp-A-Ma-Jig comes to the rescue!
Before we move onto the remaining three cards, here is a quick overview on how to use the Stamp-A-Ma-Jig if you haven't seen it used before. You can also look for a YouTube video on how to use it...there are a ton!
Line up the plastic sheet and stamp in the corner of the Stamp-A-Ma-Jig stamping directly onto the plastic sheet. This will serves as your "template".


Once you have stamped your first line, then take the plastic sheet and line it up where you want it to be. Take the sheet away, but KEEP THE STAMP-A-MA-JIG IN PLACE.

The photo below shows how I am lining up the stamp in the corner of the Stamp-A-Ma-Jig without the plastic sheet underneath. I had already placed the "template" where I wanted my sentiment to go.

This photo shows how I continue to use the plastic sheet to line up my words perfectly.

Now onto more cards...
This particular card I used the Stamp-A-Ma-Jig to line up exactly where I wanted each of the "hello" sentiments to be.

Using the plastic sheet, I had stamped the "hello" and then moved it all around the paper to where I wanted the "hello" to be, removing the plastic sheet each time but keeping the Stamp-A-Ma-Jig in place and then putting my stamp in the corner of it.

On this card, I used the Stamp-A-Ma-Jig to place the pennants perfectly on top of the cake (comes separate from the cake base). This stamp set is wood, so I particularly like not having to guess where the image will go!

This photo shows me lining up my template to where I wanted the pennants to go on top of the cake.


PAPER SNIPS!!
These little bad boys are so awesome and cut all of the intricate little places. I love having that extra dimension on a card and oftentimes I want to cut out something that doesn't have a punch or framelit to coordinate, so I pull out my Paper Snips and start trimming!
Click on the picture below for more detail and to order yours!

Here are the Paper Snips in action for a couple of my cards I showcased above. Look how the tip gets right into those intricate places. Love it!!


And, tomorrow I'll be sharing a card for the Stylin' Stampin' INKspiration blog for "Framelits Friday". If you haven't yet visited our new blog, please head on over after you've hopped all the way through the blog hop. We INKspire you 5 days a week, 52 weeks a year! Come take a look!

Blog Hop Participants:
- Shellie G. of Craft Smashup
- Pam S. of Stampin' in the Sun!
- Tonya B. of Stampin' with Tonya
- Dawn S. of Dawn's Creative Chalet
- Darcy J. of DJ's Stampin' Place
- Pamela W. of Stinky Tofu
- Kim R. of Stamping with Kim
- Justin K. of JK Cards
- Heidi B of Stuck on Stampin'
- Jennifer B. of NW Stamper
- Bree R. of Craft-somnia
- Diana E. of Stampin' Fun with Diana
- Jennifer C. of Happy 2 Scrap 4 Life
- Jamie H. of Unique Ink
- Kristina M. of Mama's Sanity
13 comments :
You certainly got {stamp-a-ma}jiggy with it!! I love all of your creations! Thanks for taking the time to share all of the great details :-)
You are awesome! Those pictures are great! I love your cards! And I need to use the Stamp-a-ma-jig more often!
thank you for showing many pictures of your step by step process!!! - Pam W.
I've only recently started using the SAMJ on a regular basis.I have to say that, it never occurred to me to use to line up a crookedly mounted stamp so that it is straight. I especially love your yippee-skippee card. thanks for educating us about the SAMJ :)
You got jiggy with it!! LOL! Love! You rock!
I had a hard time reading those letters to post - but then again, I have bad eyes ;)
resurGo 453
I love my SAMJ! My dad had to figure out how to use it for my mom many years ago, and I'm thankful, because I'd be lost without it!
Great cards Heidi, love the the colors are so great and I love how you provided step by step instructions. It's amazing how intimidating the stamp-a-majig is but once you use it you'll use it all the time. TFS!
Wow! You really out-did yourself here lady! I love the cards and the SAMJ is one of my favorites as well... I did take forever to learn how to use it though! Thanks for sharing!
Love all your cards!!! Great job!!!
Yippee skippee was my favorite!
Heidi, all four of your cards are great but I will have to case the yippee skippee one for sure. I tend to not use my stamp-a-ma-jig nearly as much as I should thanks for the reminder to get it out and use it.
Just love all you're cards. Thank you for all the pictures for showing us how to see the process. Thank you
Oh Heidi, I always love love love your work! These cards are no exception. Such fun variety and all great examples (and great photos) for showing how to use the Stamp-a-ma-jig. Awesome creations!
Post a Comment