
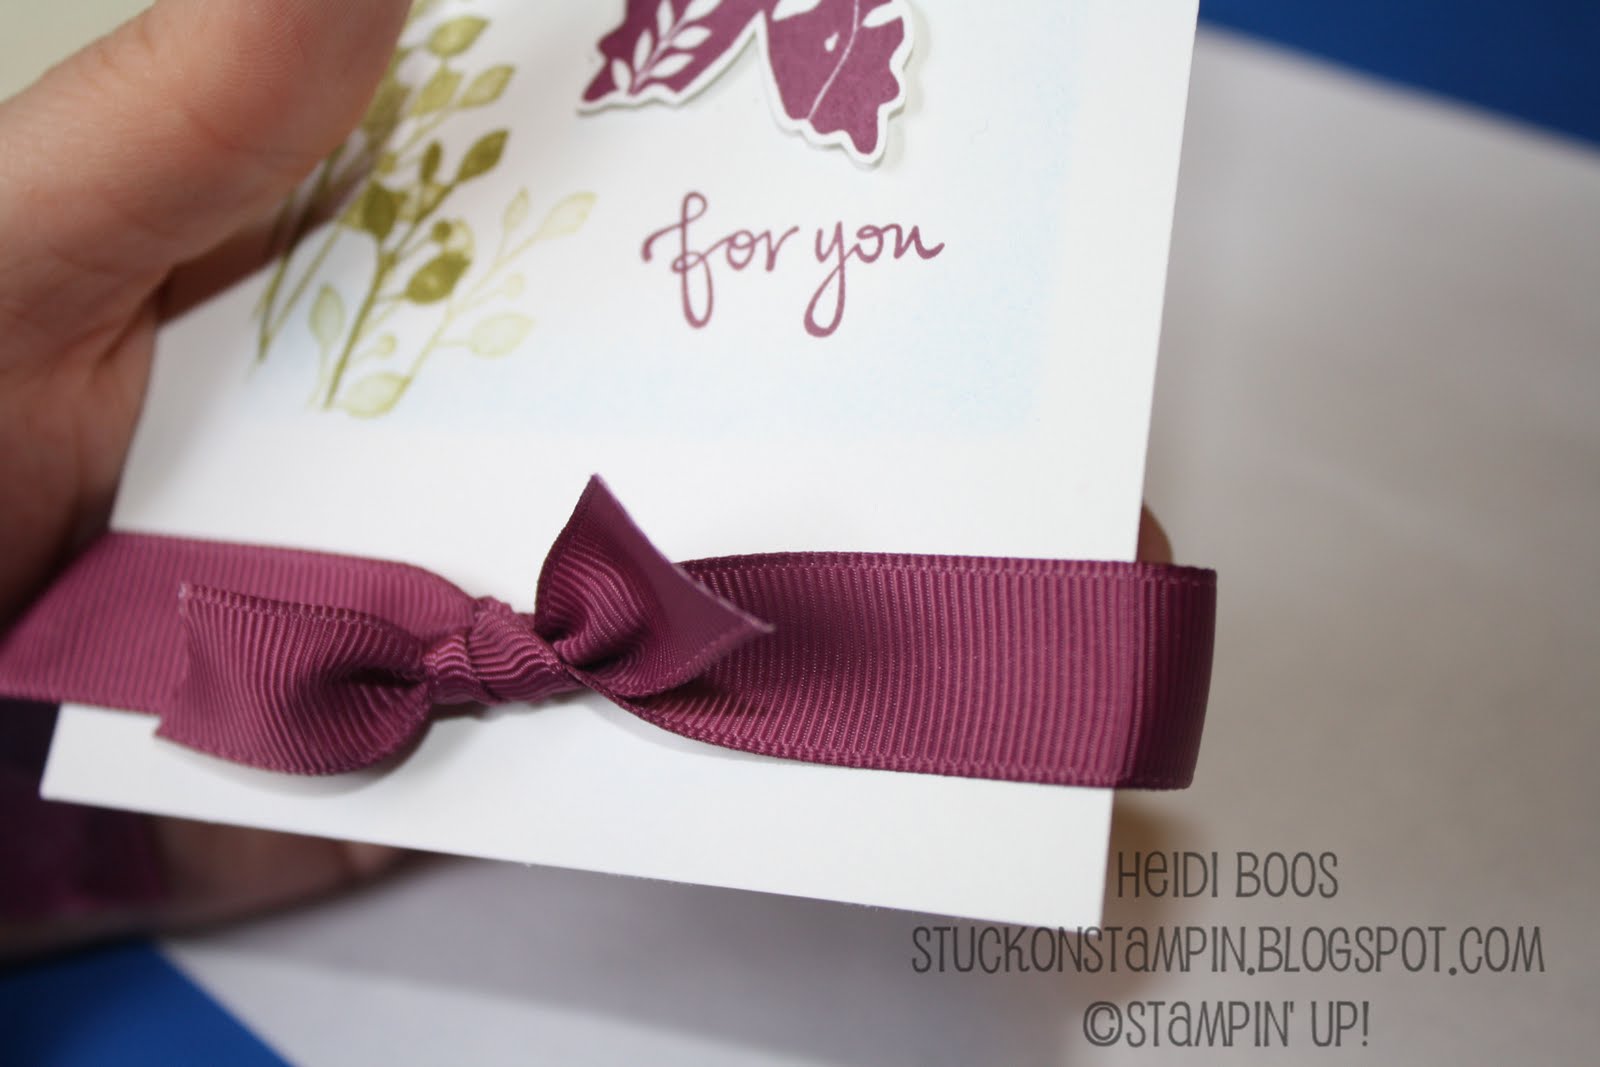
This week's tip is to share how to create a "faux knot". This helps a little with saving on the amount of ribbon you need to use, as well as helping you tie a knot without all of the fumbling fingers.
My faux knot

Start with two lengths of ribbon, measuring the longer piece long enough to wrap around the piece of paper you are attaching the ribbon to.

Taking the smaller piece, form the two pieces of ribbon into a "T'.

Tie a knot. (excuse the need for a manicure!)

Place adhesive on the back of the ribbon.

Then wrap around your cardstock you would like to attach it to.
View from the back.

I took the Old Olive cardstock and adhered it to the Whisper White to cover up the ribbon pieces on the back.

Completed card...

*Note: This "faux knot" works best when you will be covering the back of the pieces up.
More Tuesday Tips:
Storing your clear mount stamps inside their cases
Punching out small scraps of paper easily
2 comments :
Just what I need. I'm going to practice this :)
Very good idea! I have never thought of saving the ribbon that way! See even "old" stampers learn new tricks each Tuesday!
Enjoy your workshop today! I cannot wait to see what you are planning.
Post a Comment