Here are the goodies I created for the bazaar...
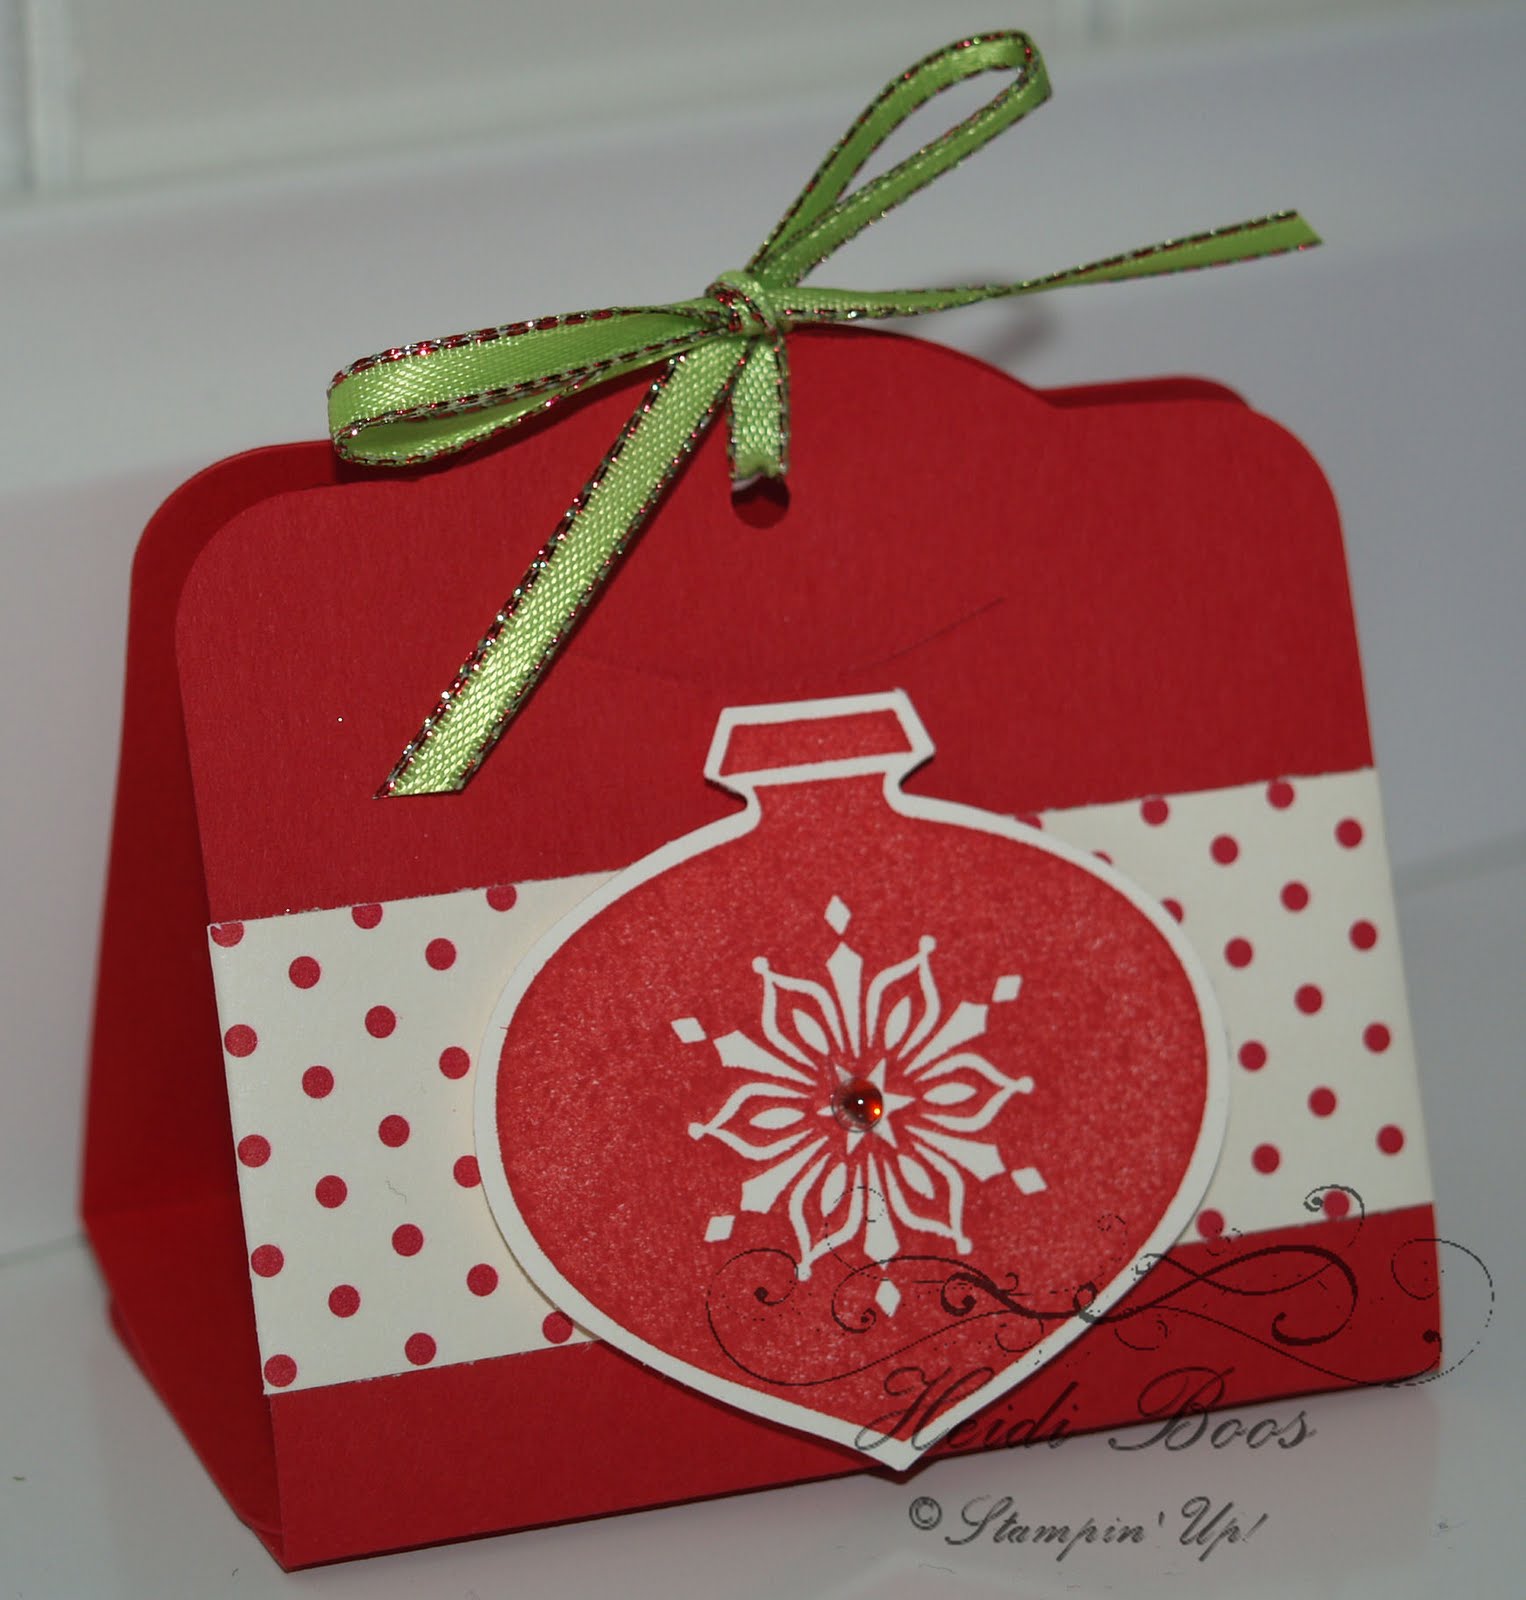
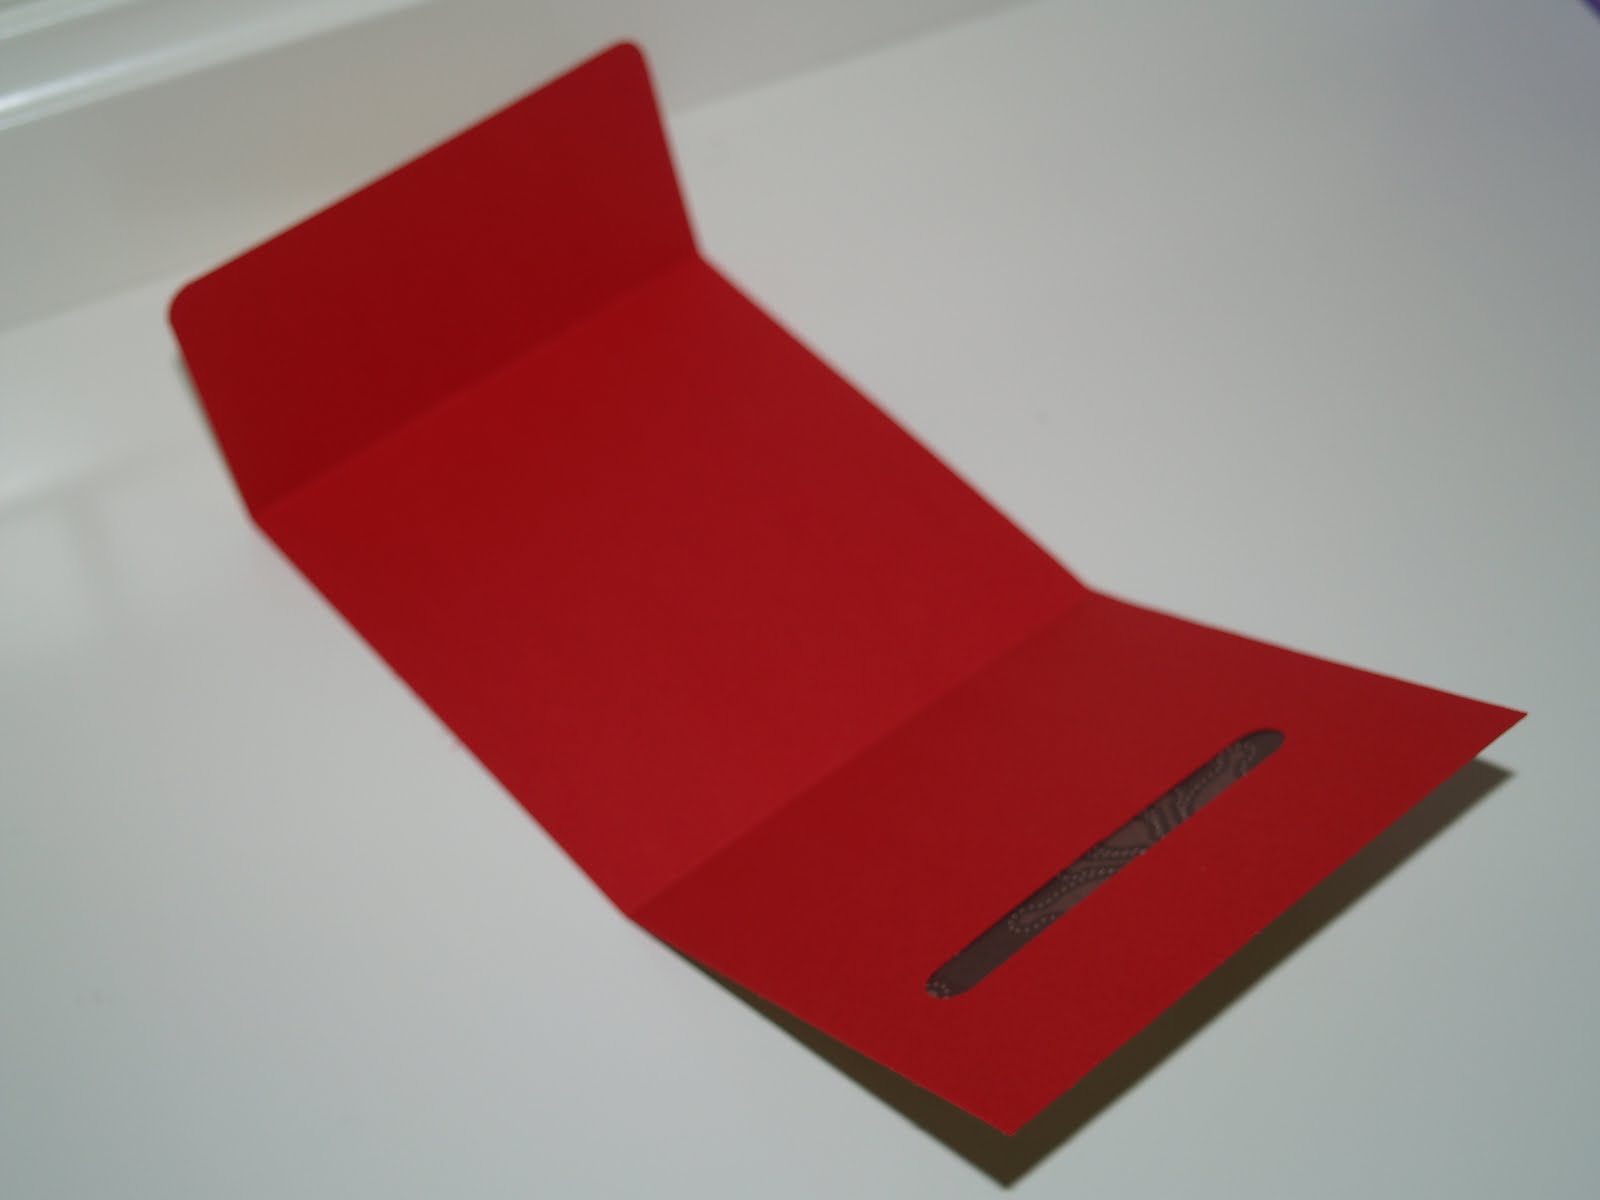
Treat Boxes
Perfect for homemade treats for neighbors, family, and friends!
I tied the Riding Hood Red striped ribbon into a bow onto the box and made a stamped tag for each of the boxes using Stampin' Up!'s Exclusive Two-Tag Bigz Die for the Big Shot Die-Cut Machine. I used Riding Hood Red & Chocolate Chip markers and colored the image from the stamp set Sweet Season. You might not be able to see it by I added a Basic Pearl in the middle of the snowflake.

Peppermint Patties
These were one of the top sellers!
{original idea found here}
"Sandwich" the patties with the scalloped circle punch and add your stamped images to the top. Place them in a pretzel bag and tie them at the top with a pretty ribbon. 4 peppermint patties fit perfectly into the baggie.

Snowman Gift Bags
I made these last year with my MOPS (Mothers of Preschoolers) group, as well as a Christmas event I held last year. I had quite a few leftovers, so I decided to put them together for the bazaar. They didn't sell very well, but I may have had the price a little too high. My mother-in-law bought four of them from me after I told her they weren't selling well...so sweet (I did lower the price just for her!)

Owl Mini Post It Note Key Chains
{I found the idea here}
I have to admit that I thought these would be GREAT sellers, but...no such luck. I didn't sell any at either of the bazaars I was a part of. They were a little bit labor intensive, so I priced that as such, so I'm not sure if the price was just too high. I guess now I'll have some fun things to put in my customer's baggies or use for door prizes...I made 20 of them!

Decorative Hand Sanitizers
These were pretty good sellers. I had used this idea for a workshop I had done for a friend of mine using Stampin' Up!'s Decor Elements(vinyls). Each of the gals at the workshop made one of these for their make n take. I decided that they were so simple and fun to make that I'd whip some up for the bazaar. I decided to do some using rub ons, too.I got a lot of lookers on this one and sold a handful.

Snowman Kisses
These little cuties I made last year, but I must say I love how this year's came out a lot better than last year's version. I used a retired hostess stamp set from the 2009 Holiday Mini. These are white Tic Tacs that I made a cover for using this tutorial. I had to tweak it a little since she used the large sized Tic Tacs.
Inside it says:
He's cute, cuddly & full of good wishes.
He wants to give you these snowman kisses!

Reindeer Food
These didn't really sell well last year, but I had a few leftover, so I thought I'd bring them out again and see how they sell. Most of the problem is that I don't think people really knew what it was. This would be a fun activity to do with your kids on Christmas Eve. You sprinkle the reindeer food on the lawn so Santa's reindeer can see your house with the "sparkle"...it's made with oatmeal, and green & red sprinkles. People have used glitter in the past, but sprinkles are more "eco-friendly".
Poem on the top of the container:
Sprinkle on the lawn at night,
The moon will make it sparkle bright.
As Santa's reindeer fly and roam,
This will guide them to your home.

Tooth Fairy Tins
I love how these turned out! They are the perfect place for your little one's lost tooth. Stampin' Up! sells the stamp called Tooth Fairy...isn't it perfect? I added a little Dazzling Diamonds glitter for that extra sparkle. I had a small group of moms at the bazaar snag one of these up for their daughters.

Magnetic List Pads
I whipped these out the night before. I had a few leftover pads from an event from last Christmas, so I thought I would use them up for the bazaar. I only had one left by the end of the day. These are list pads that have been cut in half at Staples (they charge a fee per cut). A large magnet is on the back...perfect for the front of your refrigerator to keep your shopping list.

Jingle All the Way Shadow Box Frames
I decided to see if these might sell and so I made up 5 of the frames from my tutorial using different colored paper for the background. 3 of the 5 frames sold...all to my friends! *wink*

Treat Bags
I thought these would go flying out the door, but I had A LOT of leftovers after both bazaars. They didn't take a lot of work, but the candy inside adds up. I used Stampin' Up!'s exclusive Top Note Die as the topper and I has so many bags of candy, I had to keep the decorative part simple.

Hershey Nugget Trays
These were my best sellers! I made some Thanksgiving-themed ones, along with Christmas-themed. I wish I had made more. They were pretty simple. I wrapped Hershey Nuggets (bought in bulk) and then made a "tray" from cardstock and put them in a pretzel bag. I made a tag for each of them and then tied with ribbon. I had seen these from a friend of mine and thought they were adorable!

Purse Post-It Note Holders
I love these!! These were pretty good sellers, too. I took 10 of them and sold 9. They are so fun...open it up and there are post it notes inside. I made some for a birthday party I did a month or so ago. The tutorial can be found here. I kept them simple, mostly because I made them the night before (shhh...don't tell anyone that!)

Christmas Cards
{sold individually}

Christmas Cards
{sold in packages}

 I also had misc. greeting cards for sale, but I didn't get an up close picture of those.
Here is my set up at the bazaar...

My little "information station". I was advertising my upcoming Candy Cane Christmas Event and there was an opportunity to put your name in for a door prize drawing.

I had seen this idea while attending a stamping retreat and knew it would make a great addition to a bazaar. They were quick and easy to make, but yet are a great gift to give to someone. I wrapped each Rolo candy bar in Jolly Holiday Designer Series Paper and then added a raffia ribbon with a tag from the Tags Till Christmas stamp set.

Rudolph's Treats
During my first bazaar, these goodies were filled with a baggie that had red hots in them and were called Rudolph Spares. However, not one of them sold, so for the second bazaar I revamped them and added 3 Cookies & Creme mini Hershey bars. They sold much better with these! This was made using the Two-Tags Die.

Perfect for homemade treats for neighbors, family, and friends!
I tied the Riding Hood Red striped ribbon into a bow onto the box and made a stamped tag for each of the boxes using Stampin' Up!'s Exclusive Two-Tag Bigz Die for the Big Shot Die-Cut Machine. I used Riding Hood Red & Chocolate Chip markers and colored the image from the stamp set Sweet Season. You might not be able to see it by I added a Basic Pearl in the middle of the snowflake.

Peppermint Patties
These were one of the top sellers!
{original idea found here}
"Sandwich" the patties with the scalloped circle punch and add your stamped images to the top. Place them in a pretzel bag and tie them at the top with a pretty ribbon. 4 peppermint patties fit perfectly into the baggie.

Snowman Gift Bags
I made these last year with my MOPS (Mothers of Preschoolers) group, as well as a Christmas event I held last year. I had quite a few leftovers, so I decided to put them together for the bazaar. They didn't sell very well, but I may have had the price a little too high. My mother-in-law bought four of them from me after I told her they weren't selling well...so sweet (I did lower the price just for her!)

Owl Mini Post It Note Key Chains
{I found the idea here}
I have to admit that I thought these would be GREAT sellers, but...no such luck. I didn't sell any at either of the bazaars I was a part of. They were a little bit labor intensive, so I priced that as such, so I'm not sure if the price was just too high. I guess now I'll have some fun things to put in my customer's baggies or use for door prizes...I made 20 of them!

Decorative Hand Sanitizers
These were pretty good sellers. I had used this idea for a workshop I had done for a friend of mine using Stampin' Up!'s Decor Elements(vinyls). Each of the gals at the workshop made one of these for their make n take. I decided that they were so simple and fun to make that I'd whip some up for the bazaar. I decided to do some using rub ons, too.I got a lot of lookers on this one and sold a handful.

Snowman Kisses
These little cuties I made last year, but I must say I love how this year's came out a lot better than last year's version. I used a retired hostess stamp set from the 2009 Holiday Mini. These are white Tic Tacs that I made a cover for using this tutorial. I had to tweak it a little since she used the large sized Tic Tacs.
Inside it says:
He's cute, cuddly & full of good wishes.
He wants to give you these snowman kisses!

Reindeer Food
These didn't really sell well last year, but I had a few leftover, so I thought I'd bring them out again and see how they sell. Most of the problem is that I don't think people really knew what it was. This would be a fun activity to do with your kids on Christmas Eve. You sprinkle the reindeer food on the lawn so Santa's reindeer can see your house with the "sparkle"...it's made with oatmeal, and green & red sprinkles. People have used glitter in the past, but sprinkles are more "eco-friendly".
Poem on the top of the container:
Sprinkle on the lawn at night,
The moon will make it sparkle bright.
As Santa's reindeer fly and roam,
This will guide them to your home.

Tooth Fairy Tins
I love how these turned out! They are the perfect place for your little one's lost tooth. Stampin' Up! sells the stamp called Tooth Fairy...isn't it perfect? I added a little Dazzling Diamonds glitter for that extra sparkle. I had a small group of moms at the bazaar snag one of these up for their daughters.

Magnetic List Pads
I whipped these out the night before. I had a few leftover pads from an event from last Christmas, so I thought I would use them up for the bazaar. I only had one left by the end of the day. These are list pads that have been cut in half at Staples (they charge a fee per cut). A large magnet is on the back...perfect for the front of your refrigerator to keep your shopping list.

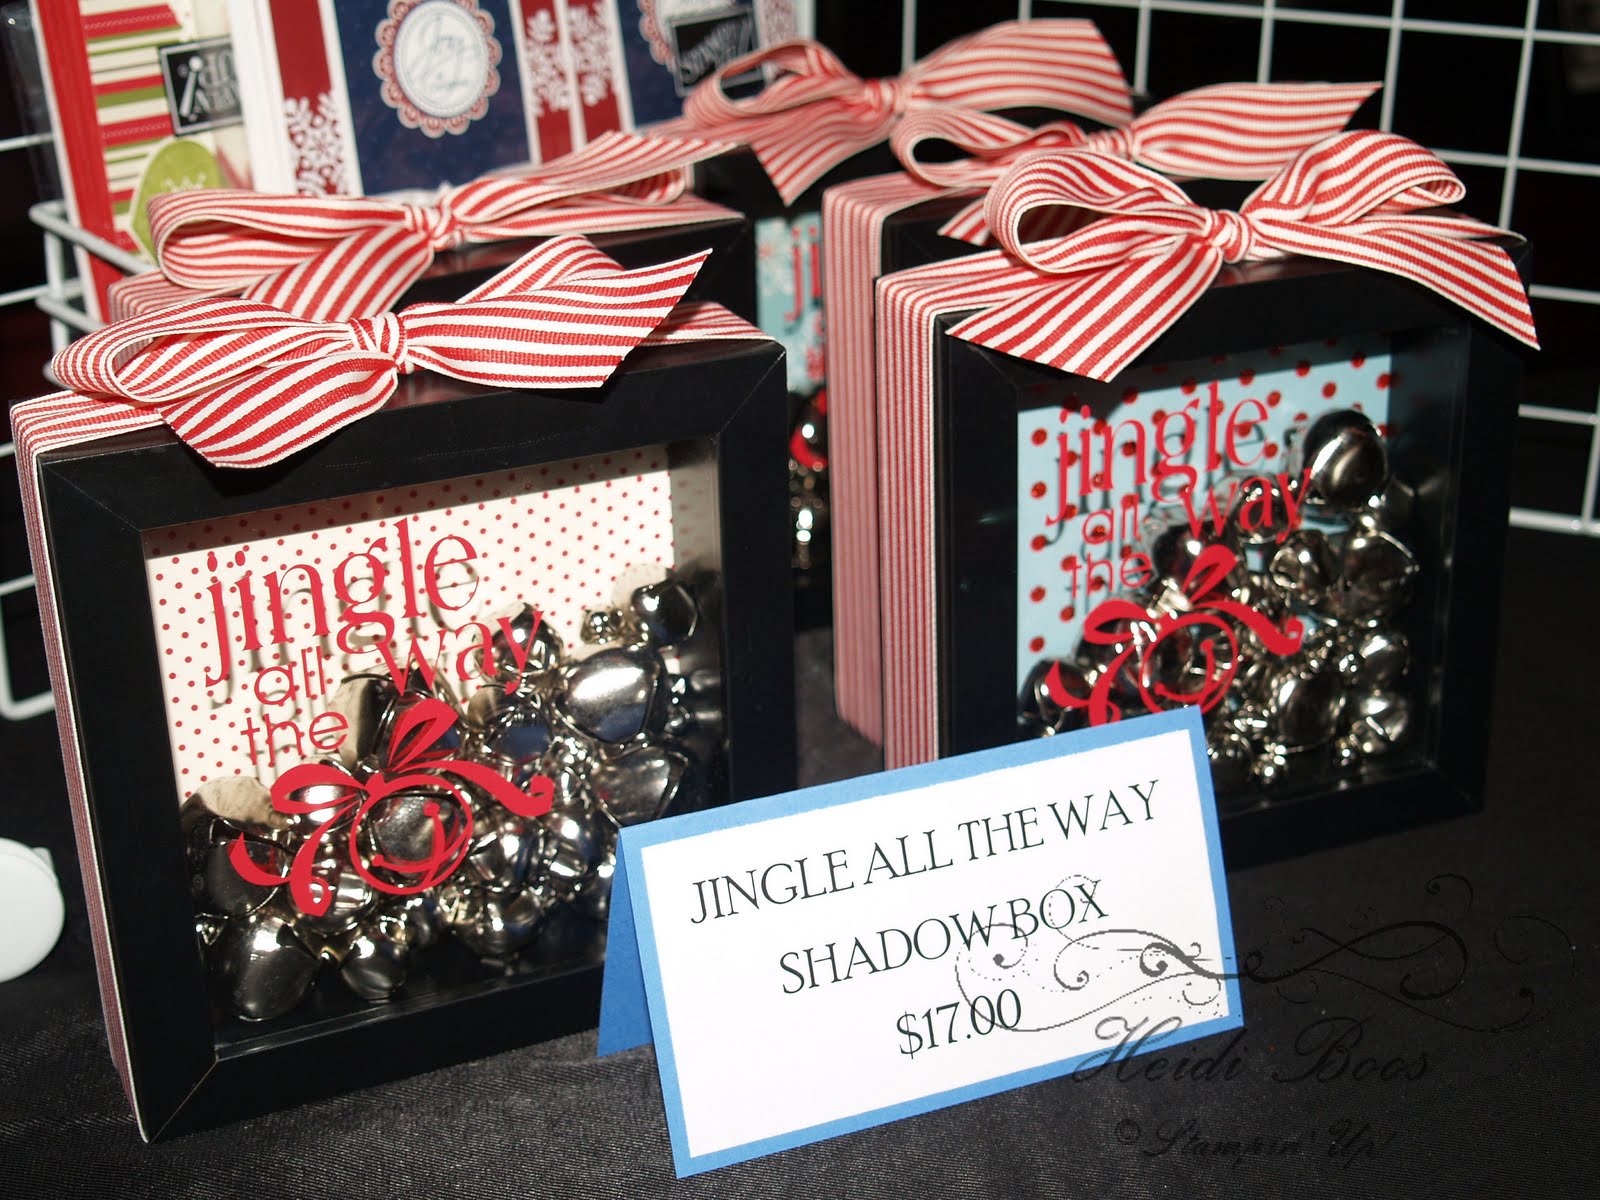
Jingle All the Way Shadow Box Frames
I decided to see if these might sell and so I made up 5 of the frames from my tutorial using different colored paper for the background. 3 of the 5 frames sold...all to my friends! *wink*
Treat Bags
I thought these would go flying out the door, but I had A LOT of leftovers after both bazaars. They didn't take a lot of work, but the candy inside adds up. I used Stampin' Up!'s exclusive Top Note Die as the topper and I has so many bags of candy, I had to keep the decorative part simple.

Hershey Nugget Trays
These were my best sellers! I made some Thanksgiving-themed ones, along with Christmas-themed. I wish I had made more. They were pretty simple. I wrapped Hershey Nuggets (bought in bulk) and then made a "tray" from cardstock and put them in a pretzel bag. I made a tag for each of them and then tied with ribbon. I had seen these from a friend of mine and thought they were adorable!

Purse Post-It Note Holders
I love these!! These were pretty good sellers, too. I took 10 of them and sold 9. They are so fun...open it up and there are post it notes inside. I made some for a birthday party I did a month or so ago. The tutorial can be found here. I kept them simple, mostly because I made them the night before (shhh...don't tell anyone that!)

Christmas Cards
{sold individually}

Christmas Cards
{sold in packages}

 I also had misc. greeting cards for sale, but I didn't get an up close picture of those.
Here is my set up at the bazaar...

My little "information station". I was advertising my upcoming Candy Cane Christmas Event and there was an opportunity to put your name in for a door prize drawing.

I sold quite a bit of things at my first bazaar, but still had some things left over, so I decided to take part in a second bazaar. However, as I should have guessed, I ended up putting more time than expected into the second one because I needed to make more of mostly everything "just in case". Unfortunately, the second bazaar did not go nearly as well (far from it!) as the first bazaar. I was a bit disappointed, but thankfully I was able to display my bazaar things at my Candy Cane Christmas event I was holding the next day, and more things ended up selling then.
Additions to my 2nd bazaar...
Rolo Candy TreatsI had seen this idea while attending a stamping retreat and knew it would make a great addition to a bazaar. They were quick and easy to make, but yet are a great gift to give to someone. I wrapped each Rolo candy bar in Jolly Holiday Designer Series Paper and then added a raffia ribbon with a tag from the Tags Till Christmas stamp set.

Rudolph's Treats
During my first bazaar, these goodies were filled with a baggie that had red hots in them and were called Rudolph Spares. However, not one of them sold, so for the second bazaar I revamped them and added 3 Cookies & Creme mini Hershey bars. They sold much better with these! This was made using the Two-Tags Die.

Bazaars require a lot of time, work, and money, but with the success of my first one, I may just do it again next year...but I think only ONE! I'm not going to push my luck! *wink*