The plus side of doing these bazaars is having all of these fun creations to share with my blog readers! Many of these items I have already shared in my 12 Days of Christmas {Projects}. I will attach a link to any of the projects that have a step by step tutorial, so feel free to click away and save the idea for next year if it inspires you!
Since my first bazaar was the weekend before Thanksgiving, I had a few Thanksgiving treats out for sale, too!
{Turkey Treats}

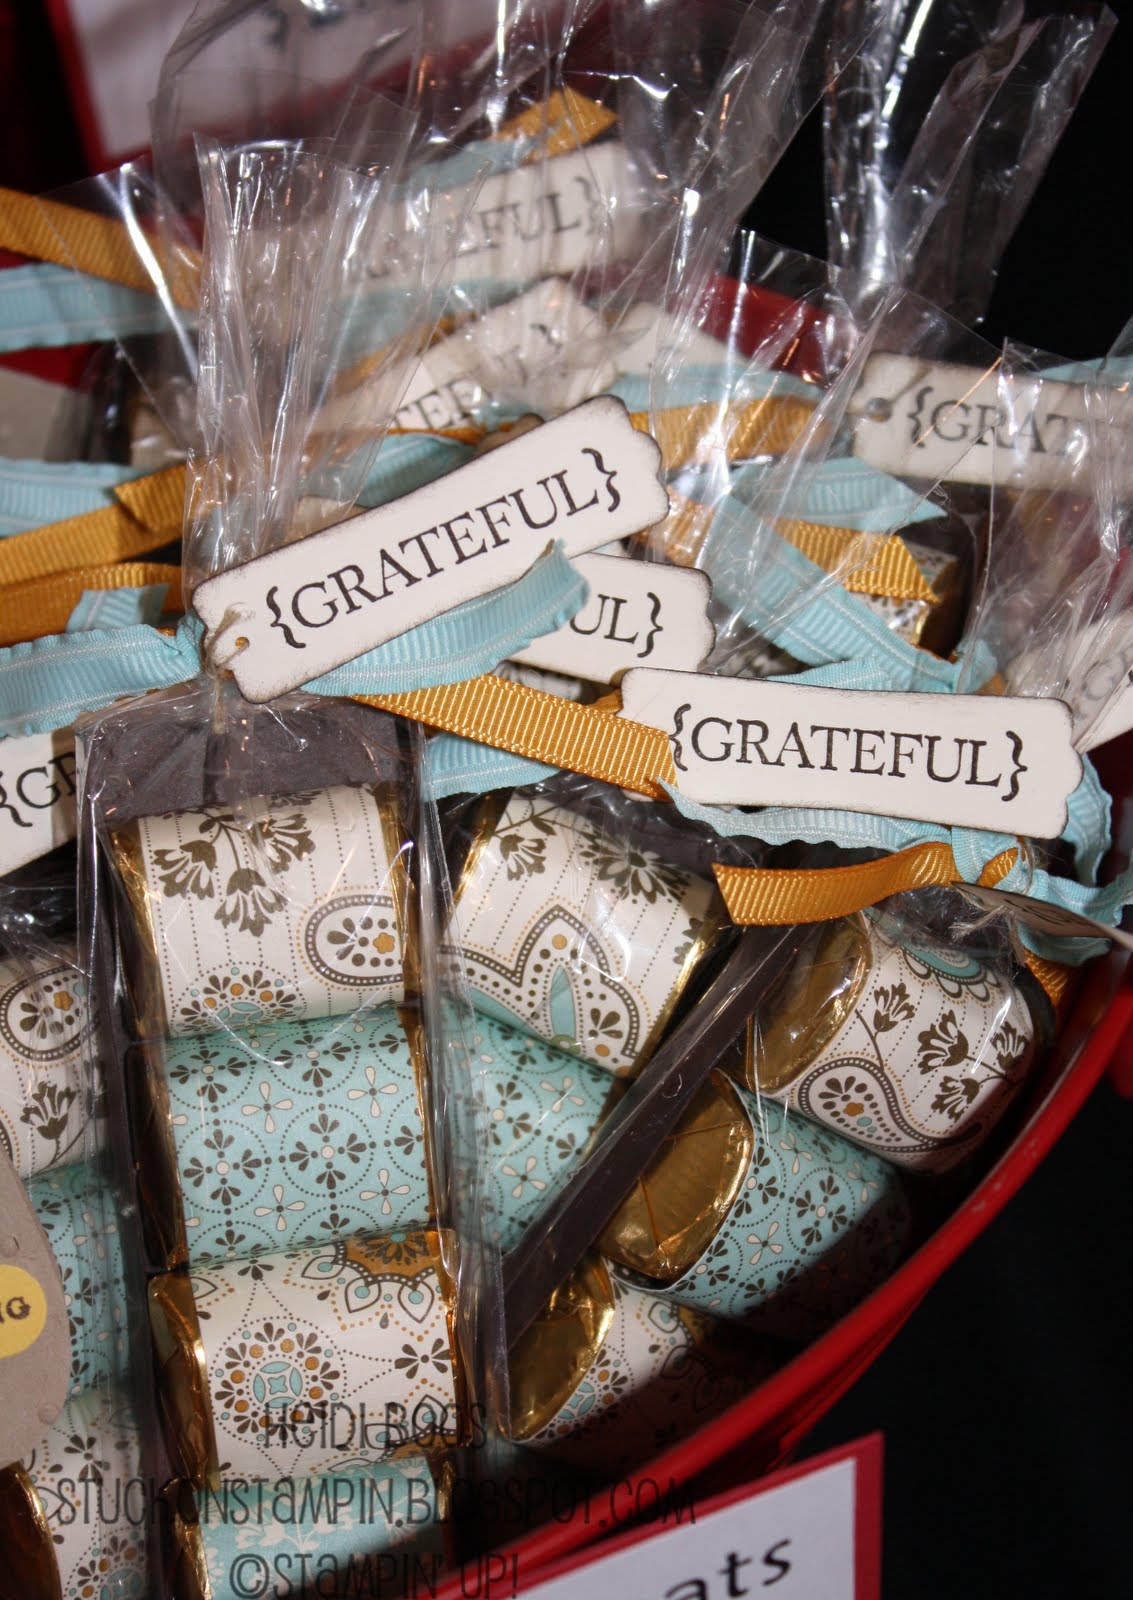
{Hershey's Nugget Trays}

{M & M's Skinny Bag with Tag}

I realized this year that I had a lot of candy treats!!
Here are the Christmas goodies...
Here are the Christmas goodies...


{Top Note Christmas Candy Corn Bags}


{Fill Your Own Treat Bags}

{Gift Bags with Matching Tags}


{Gift Card Holders}

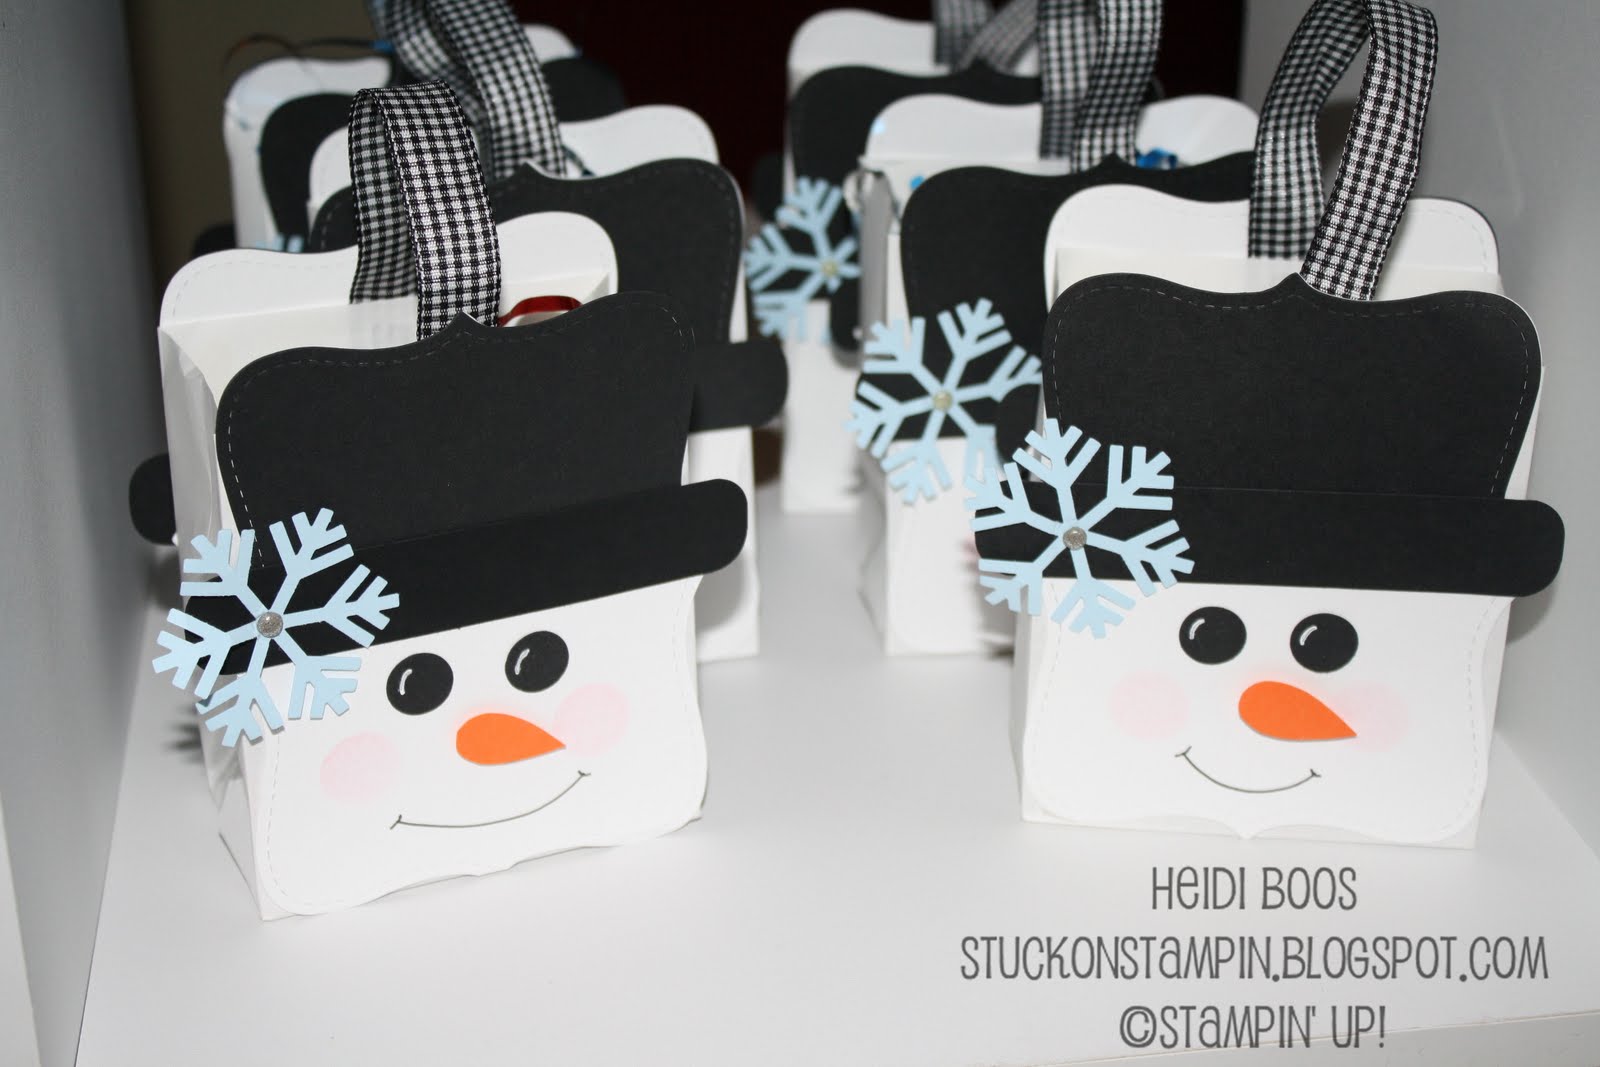
{Snowman Gift Bags}
{Covered List Pads}

{Owl Post-It Note Keychains}

{Tooth Fairy Tins}

{Christmas Easel Card}

{Misc. Christmas Cards}

This year's set up turned out a little different than last year's, but I liked the final product! I was able to borrow a table top card spinner from a friend and I packed along the 6 cube shelf for the extra 4 feet in my "10 foot" allotted space. It worked perfectly!
{The Complete Set Up}

{Up Close of Shelf}

{The Business Side of Things}

My two little loves came to visit me at the bazaar.
I love having my own little fan club!

I also participated in a second smaller bazaar (it was called a Holiday Shopping Party), but I didn't get any pictures of that set up. All of the handmade crafts were mostly the same except for the addition of these cute things...

Please feel free to leave me a comment if you have any questions!
Hope each of you had a Merry Christmas!!
Hope each of you had a Merry Christmas!!