Showing posts with label organization. Show all posts

Friday, April 10, 2015

Storage Solutions - sneak peek of my craft room!

Back in November I decided to do a little switcheroo of my craft room. OK, let's be honest...it turned out to be a BIG switcheroo. I brought it all from an upstairs room to the downstairs office space right off the front entry. Now we have the office (and added some desks for the kids) upstairs where my old craft room used to be. It has made an AMAZING difference, especially with the events I hold in my home on a monthly basis. Having easy access to this room is so nice!

The color scheme of my new craft room is gray, aqua(ish), and yellow. Obviously you can't really see the color scheme in the picture below, but hopefully at some point I can give you a tour of the ENTIRE room, but for right now I wanted to share with you a couple of storage solutions (join us over at Stylin' Stampin' INKspiration for more storage solutions from some of the other desingers!)

One of my biggest storage solution saver has been using rods for the wall where I can store my punches on. The bottom (silver) row of rods can still be found at IKEA. The top two (black) rods have since been discontinued from IKEA. Those were my favorite ones!

You can also see to the right of the picture I have a 12x12 paper rack that holds all of my current Stampin' Up! DSP (on the top rows) and *some* of my retired DSP on the bottom rows (can't see in picture). I have another place for all the rest of my retired DSP...so don't be fooled that this is all! ;) It's hard to tell in the picture because I cropped it off, but it does go all the way to the ground. I keep the paper in the plastic to avoid any dust settling and I slip all of my loose scraps inside. I also write the name of each DSP on top of the plastic in Sharpie, so I can see it easily.

You can also see in the picture I have more of the large size punches in a shelf on the wall (on the left) and I use my ink pad carousel for all my ink pads and re-inkers.


A couple of other quick storage solutions...

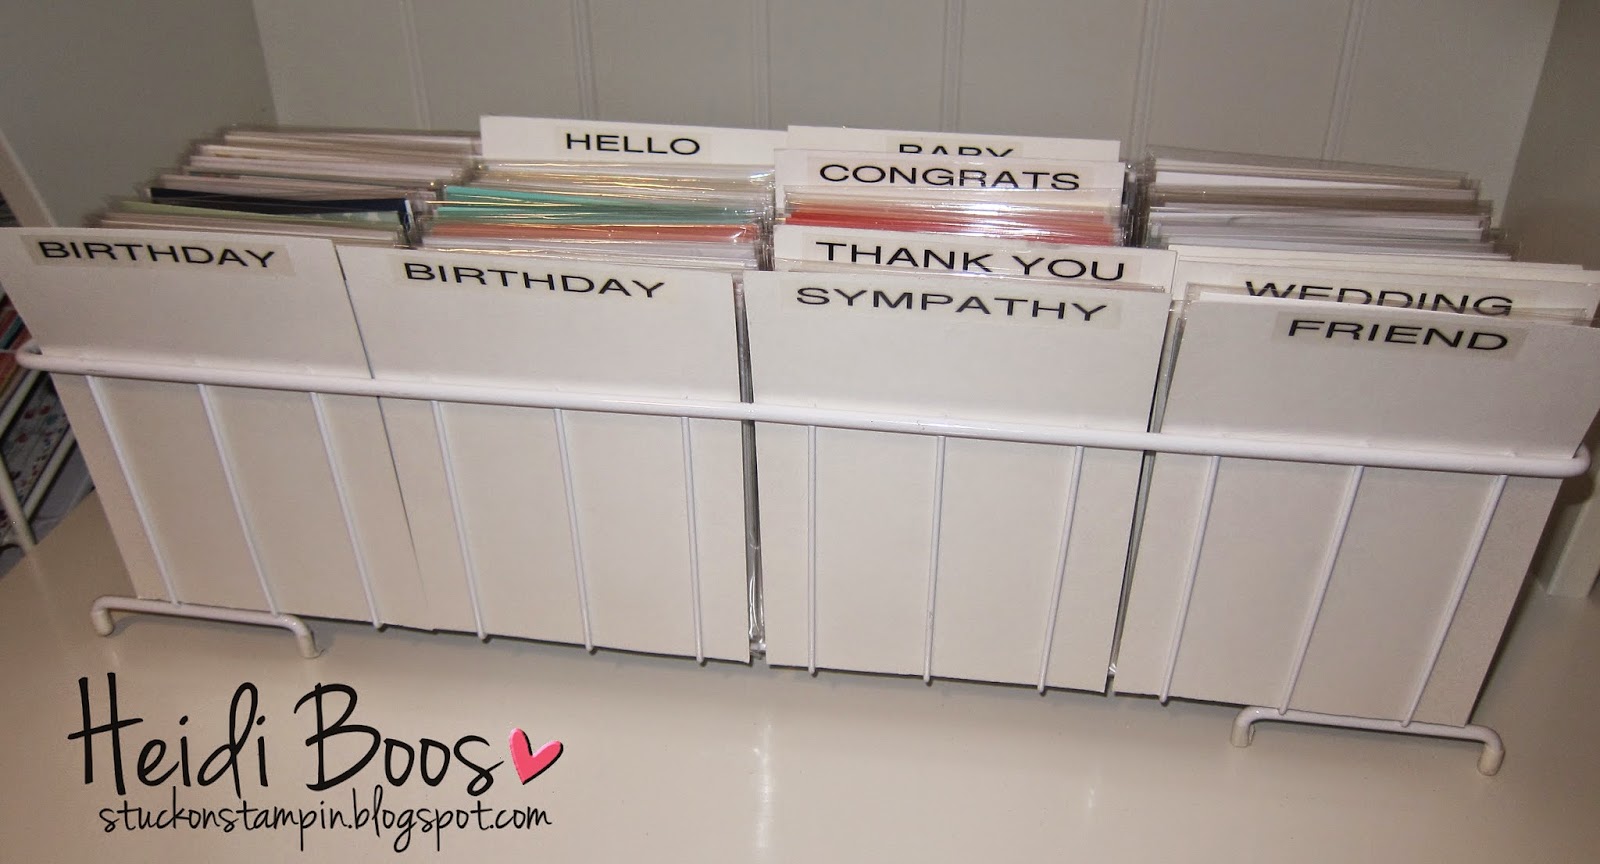
I store all of my pre-made cards in this fun wire rack that I found at a garage sale. I made labeled dividers for each kind of cards, so I can easily see which card I need (I have a separate rack for holidays). I put this out at my events and it makes it easy for my guests to look through to find just the right card if they need to buy one!


And this is how I store my Framelits. Each set is placed in Clear Mount Cases (which you can purchase empty through Stampin' Up!). I have magnets in each of them to hold the Framelits in place. To the far right you will see my embossing folders. I keep them in a holder that can be used for pamphlets and such. I originally purchased it for our mini catalogs (back in the day) when they were that size, but when we upgraded to the larger size I found a new use for the holder!


Please let me know if you have any other questions or are curious about anything you see! I hope to create another post of my craft room in much more detail...and a look at the entire room...in the future!

Free shipping ends TODAY!
Visit my website at heidiboos.stampinup.net to place your order!

Tuesday, April 5, 2011

Tuesday Tip - storing 12x12 paper

Just a quick post today (tonight) for my Tuesday Tip! I was gone all weekend and you know how that works when coming home already behind on things...playing catch up is quite the task!

I love Stampin' Up! DSP (Designer Series Paper). I'm pretty picky, however, when it comes to buying it. I don't want to be too overwhelmed with choices (kind of like my embellishments I shared last week), but there are often days I say "I wish I had that paper!" I have a certain taste in the patterns of my paper, and often I don't go outside the box. I'm trying to work on that, but I also want to have paper in my supply that I KNOW I will use!

I love these 12x12 paper holders. Stampin' Up! sells them for $7.95 and you can purchase 4 dividers separately at $5.95, (the ones you see below in the pictures are a little bit bigger than the ones SU! sells, but I purchased these before I became a demonstrator). These are the perfect holders for storing 12x12 DSP and saving yourself from all those bent corners! I personally would love to own a rack where I could lay my 12x12 paper and have it all displayed on the walls, but that's only in my dreams! For now, I'm content on this method to help save on a little room...and it works for me. I'm already noticing that I will be needing another one soon!


Of course, labels are a must so that you are able to find the right paper just that much quicker!


Another tip I have just discovered is to keep the DSP in its clear plastic packaging that it comes in. Not only will it help save you on those bent corners, but then you are able to put the scraps right inside and it will help contain them...because we know how we keep every little scrap!


Also...because I love to coordinate, I make sure I have the names of the cardstock colors that coordinate with the DSP in the package written on the back of the thin cardboard piece that comes behind the sheets of paper. This will help you quickly find the coordinating color without having to thumb through the catalog to see what's listed there, especially if the DSP has retired. Then you won't have to go finding the correct catalog it can be found in.


For other Tuesday Tips, visit HERE.

Disclaimer: Many of the "Tuesday Tips" I share each week have been gathered through my experience as a Stampin' Up! demonstrator and crafter. I do not necessarily claim any of them as my original idea (unless it really is!), but rather things that I have seen here and there through blogging, surfing the web, attending events, and such. If there is a specific idea I have seen and want to share, I will be sure to give credit where credit is due. Hope you enjoy my "Tuesday Tips"!

Tuesday, March 29, 2011

Tuesday Tip - storing your embellishments

Welcome to this week's "Tuesday Tip"! I've been doing these weekly "Tuesday Tip" posts for one month now and I hope you have enjoyed reading...I have really enjoyed sharing! (Check out the last three week's "Tuesday Tips" HERE)

I'm pretty conservative (in comparison) when it comes to purchasing embellishments for my card or scrapbooking projects, and I often will take my supplies "on the go" to different places to either scrapbook or make cards. Because of this, it was always a little more difficult to take with me the small round containers that Stampin' Up! embellishments come in. I wanted to grab them ALL because I didn't want to be without something, but they weren't the easiest to keep organized when I was packing up everything (there were too many!) or when I was out working on projects trying to find the right embellishment.

I don't own the Stack & Store Caddy (on the left), which is perfect for these little round containers, and would be perfect for my craft room at home, but...with me being on the go so much, I needed something a little different that would work better for me.

So, to help with my dilemma, I purchased some bead storage container boxes and began organizing!

{SU! exclusive brads}

{SU! exclusive buttons}

{SU! exclusive misc. embellishments & brads}
These boxes stack and store neatly on my shelf in my craft room. When I need them, I just grab and go! As you can see, I also have "non-Stampin' Up!" (gasp!) embellishments that I often will use in my scrapbooking.
There are many embellishments out of the Stampin' Up! catalog that I haven't purchased yet (I've only been a demo for 2 years, so I have many more years to collect!). I try to keep with simple choices as to not overall myself (well, that and I wouldn't be able to afford it!). However, I'd be lying if there weren't days that I wish I had "that one embellishment" I saw on "that one project". If my embellishment collection begins to grow, it just means my non-SU! collection will have to find a new home! I have lots of room to expand with these storage boxes.

Now, what to do with all of these empty round containers...


Turn them into treat holders, of course!


Disclaimer: Many of the "Tuesday Tips" I share each week have been gathered through my experience as a Stampin' Up! demonstrator and crafter. I do not necessarily claim any of them as my original idea (unless it really is!), but rather things that I have seen here and there through blogging, surfing the web, attending events, and such. If there is a specific idea I have seen and want to share, I will be sure to give credit where credit is due.
// ADDED BY RYAN ON 1-3-14 // END ADDED BY RYAN 1-4-14